
Build a Custom Environment for Your Website on Apple Vision Pro
Here’s how we made ours with visionOS 27.
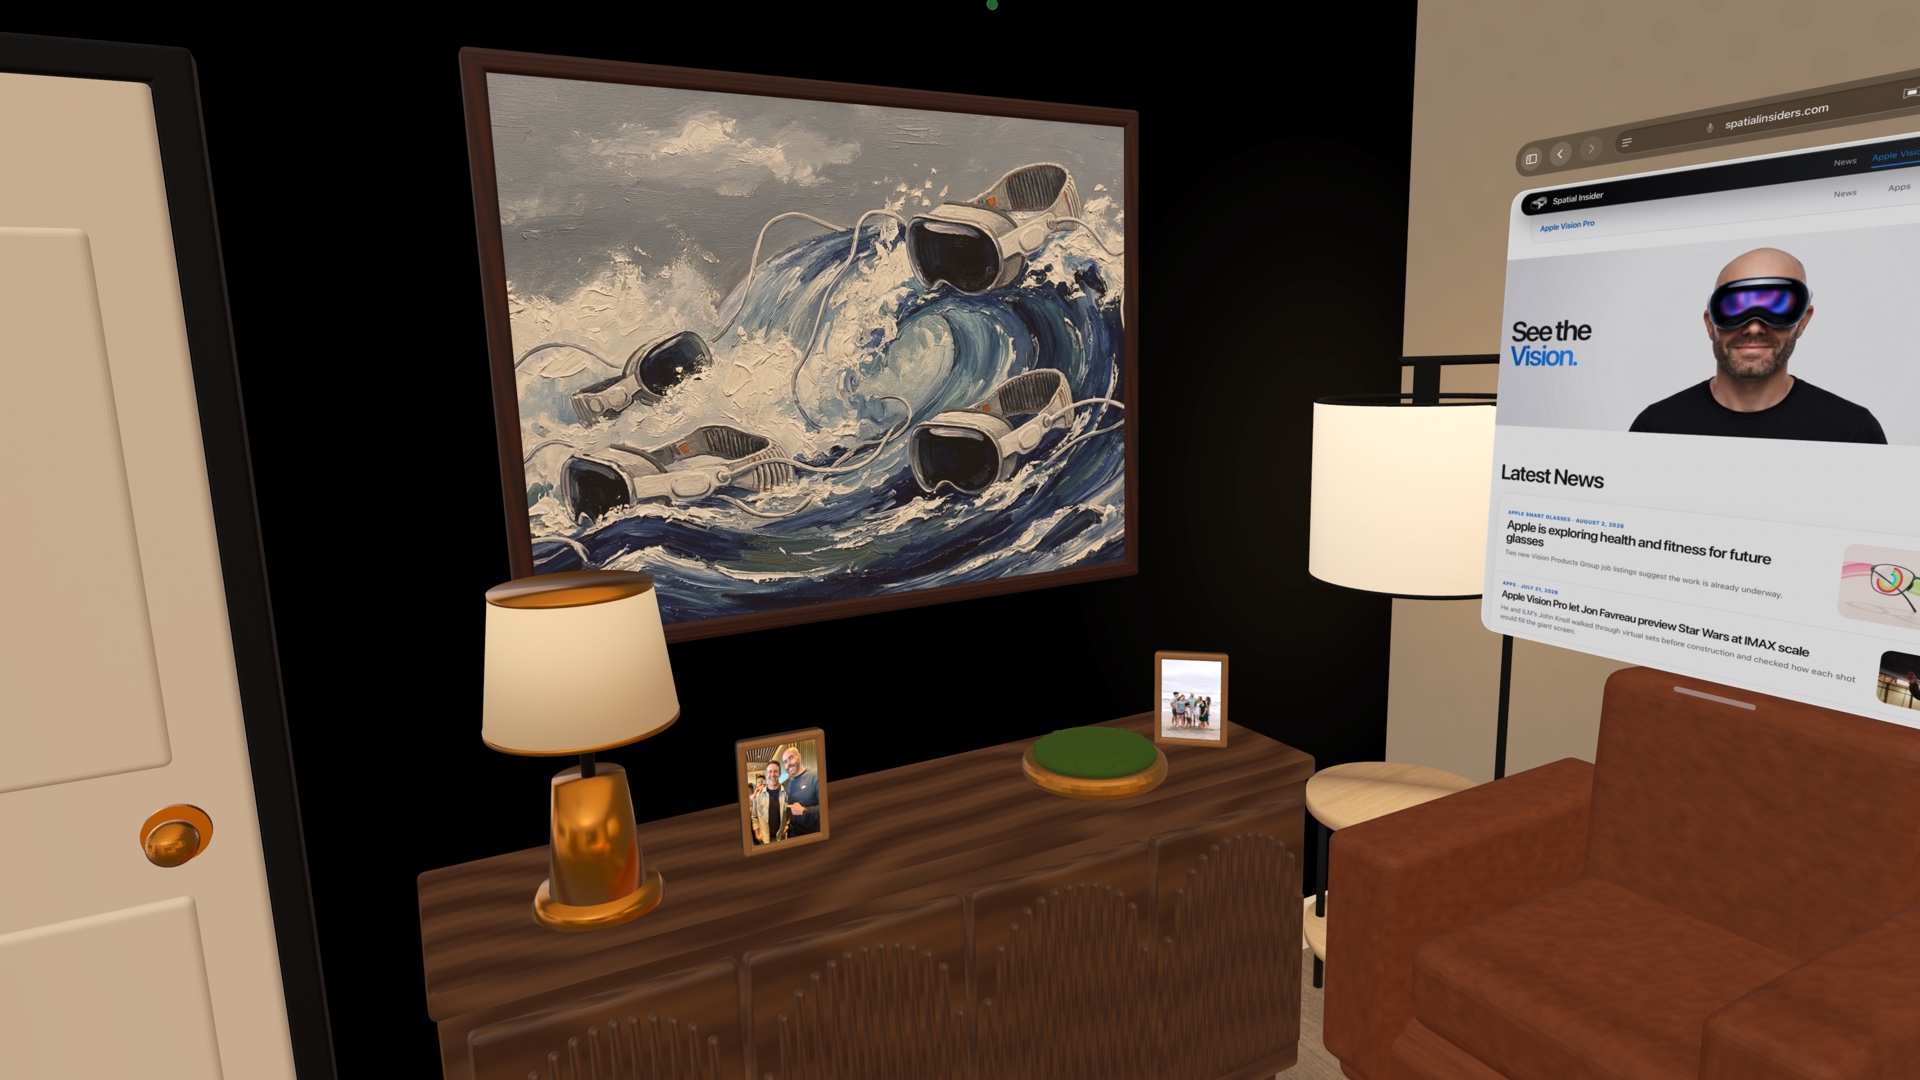
visionOS 27 can let a normal website open a custom 3D environment around you in Safari on Apple Vision Pro.
The Safari window stays in front of you when the environment opens behind it. You can then move the window anywhere in the environment. A store could show a car at full size. A hotel could let you check a room. A game maker could place you inside one scene before you download the game.
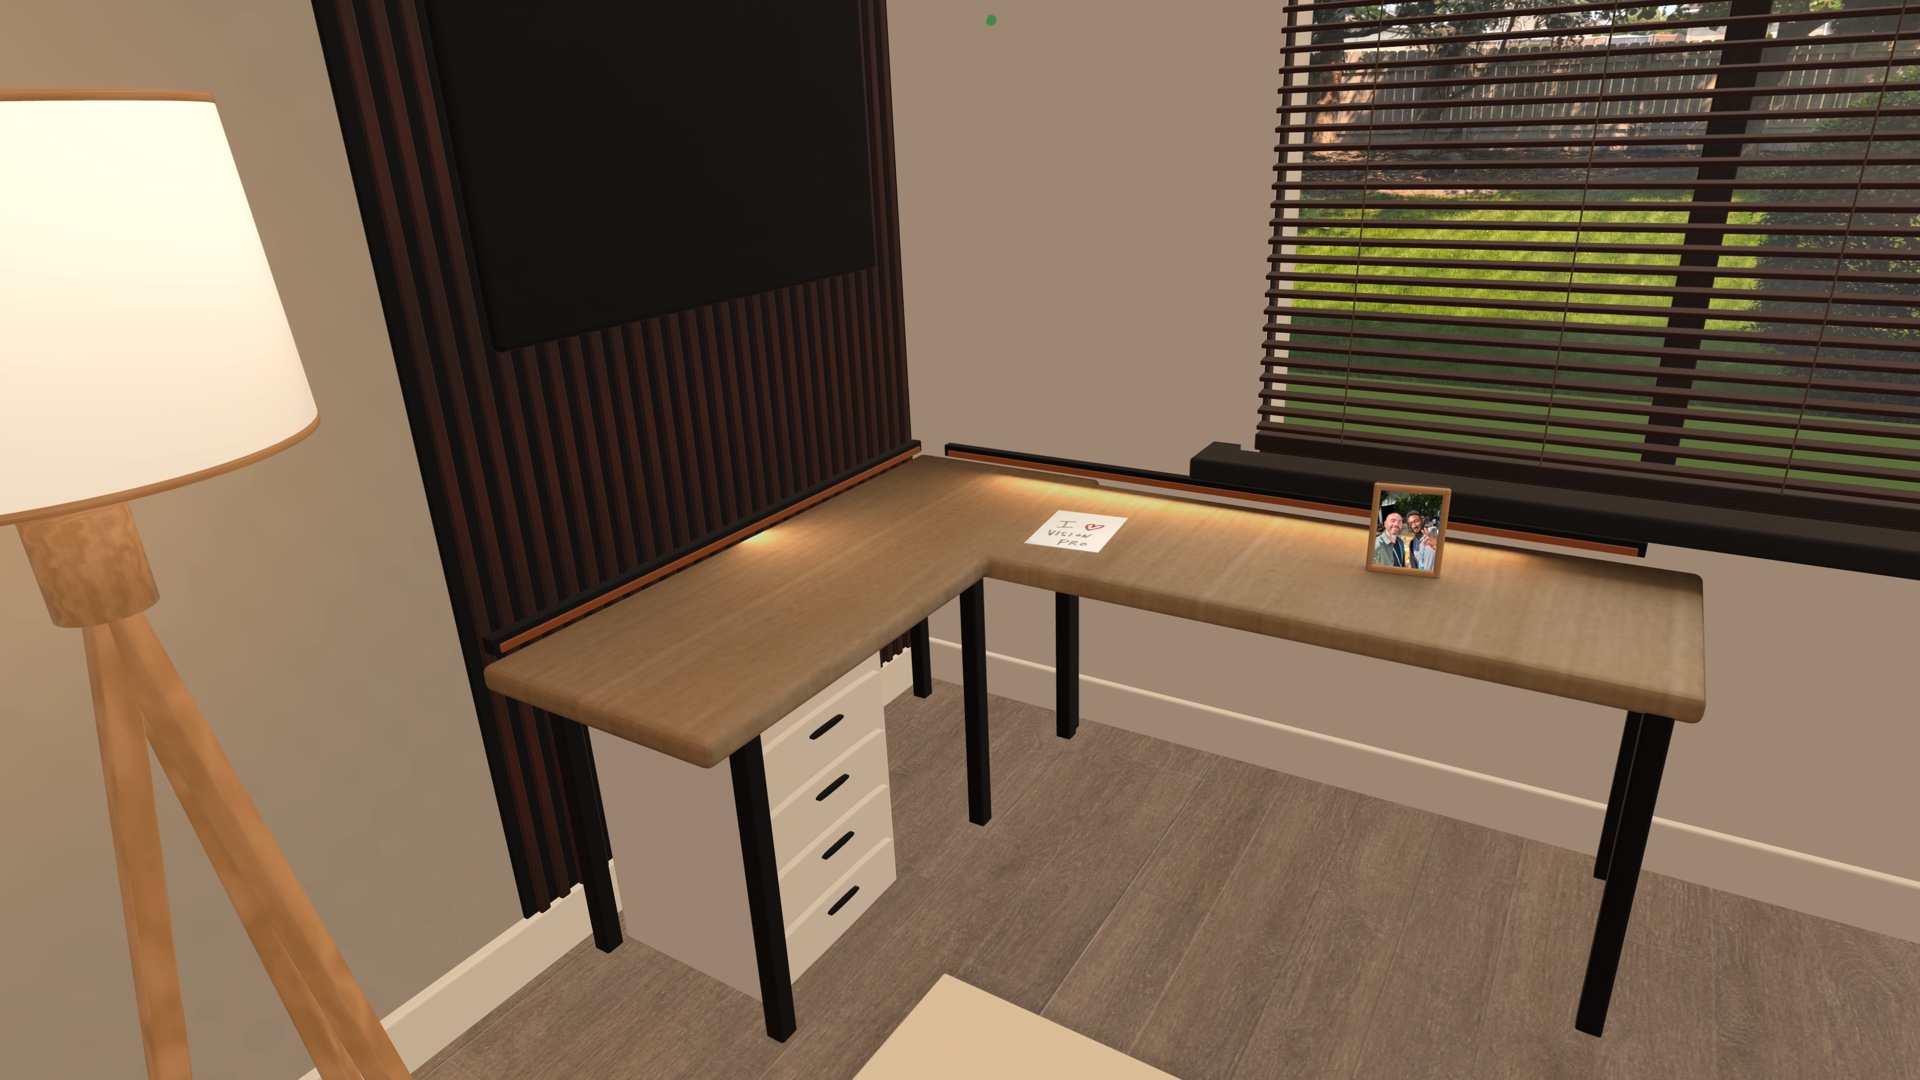
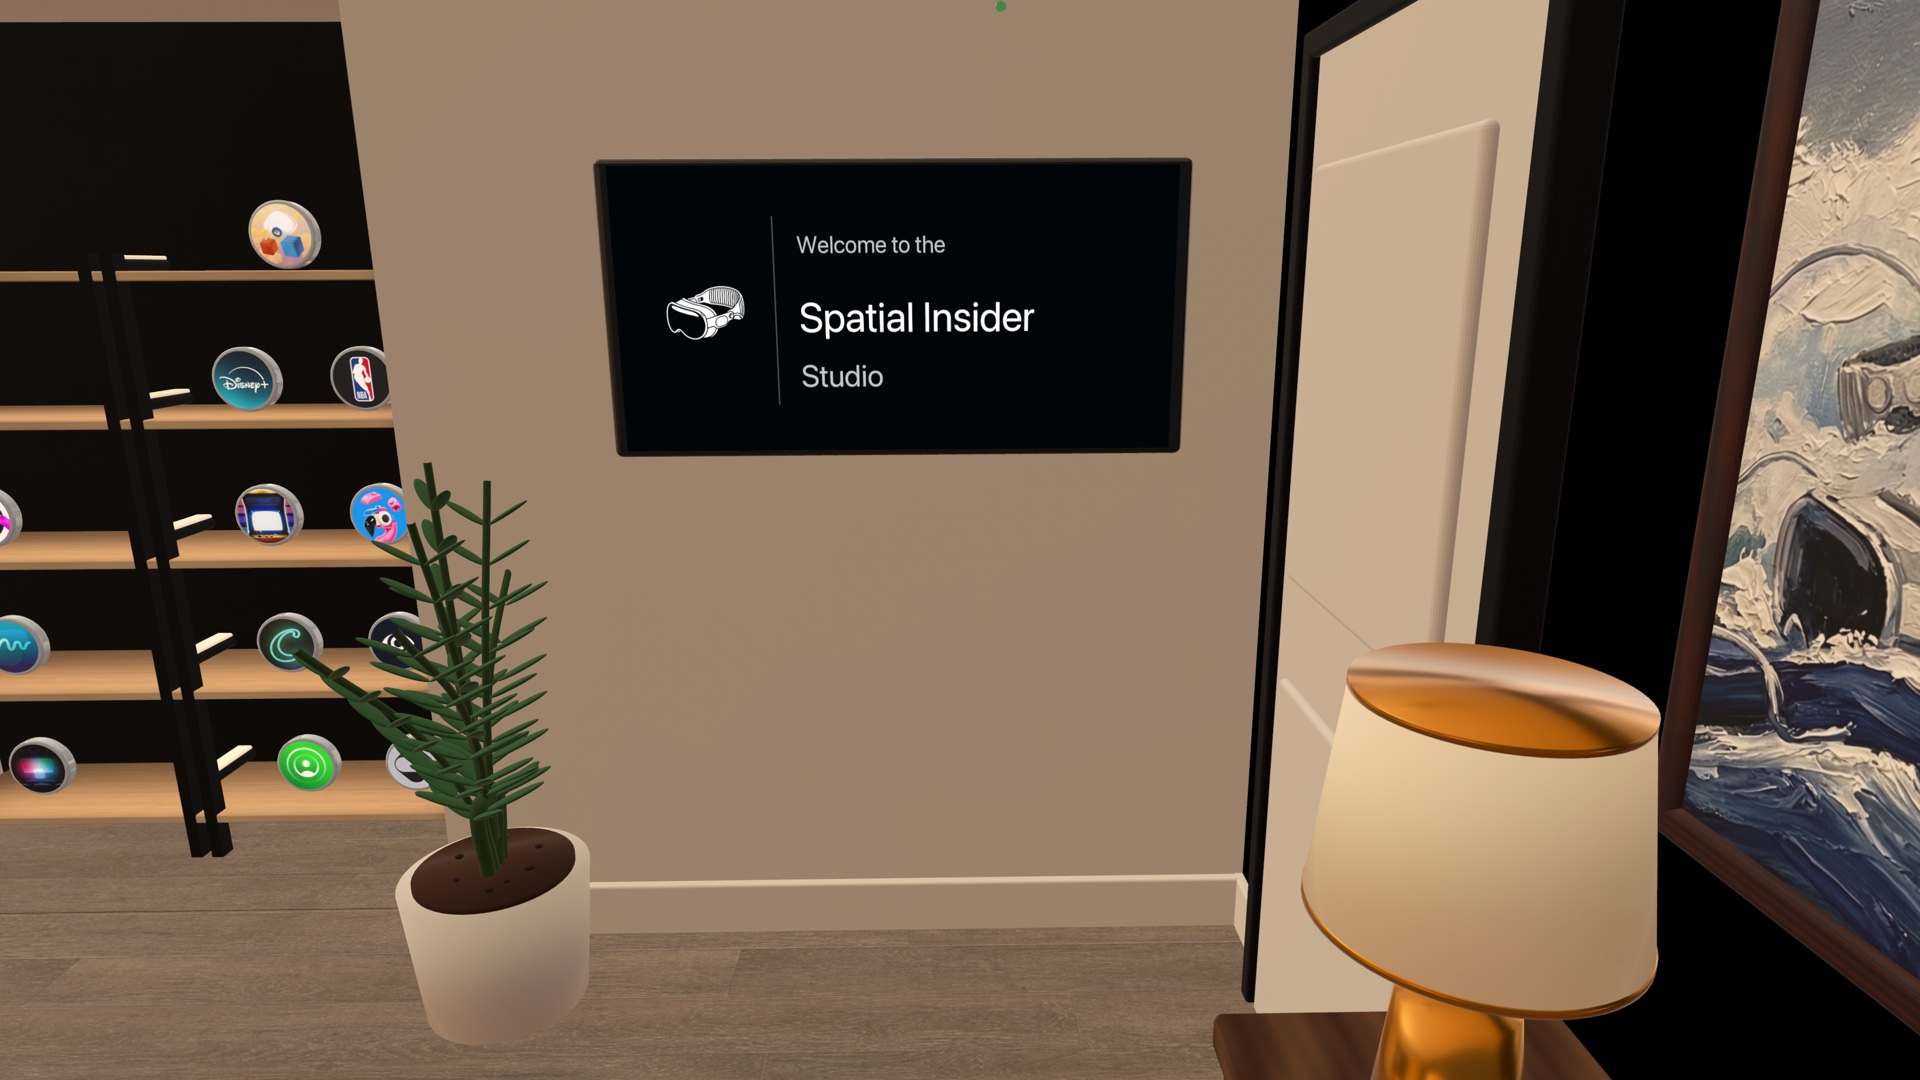
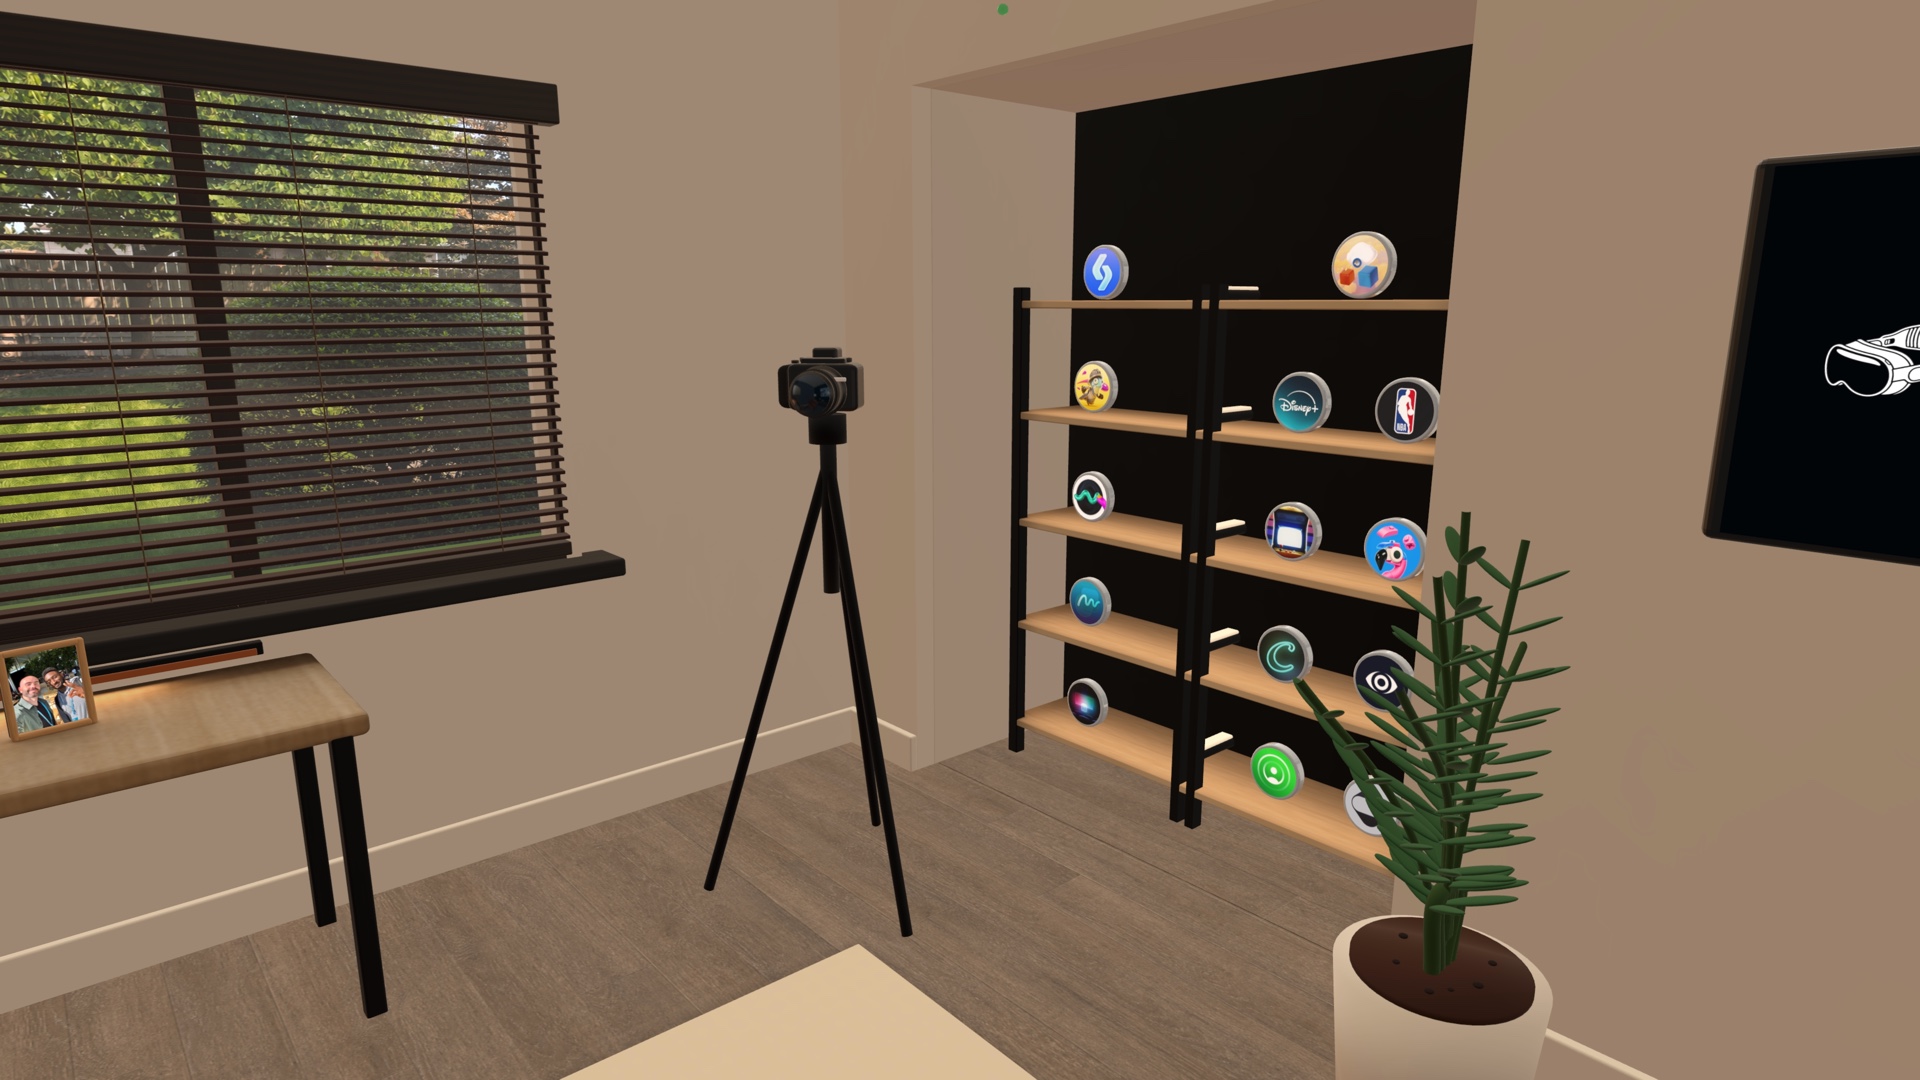
Apple shows the idea with a theater and an Escape Room demo (opens in a new tab). We used the same core tools for the Spatial Insider studio and tested it in Vision Pro. The basic code is small. Making the 3D environment load fast and look right takes most of the work.
You do not need to be a 3D expert or a full-time coder to follow this guide. Build one plain room first. A room is only a starting point. The same steps can make a theater, store, outdoor scene, or any other place you can model.
Phil Traut recorded the Spatial Insider studio from inside Apple Vision Pro. His video shows the live web page staying in front while the custom environment surrounds him.
Start with one clear job
Apple says to decide why the room exists before you build it. This choice guides every step that comes next.
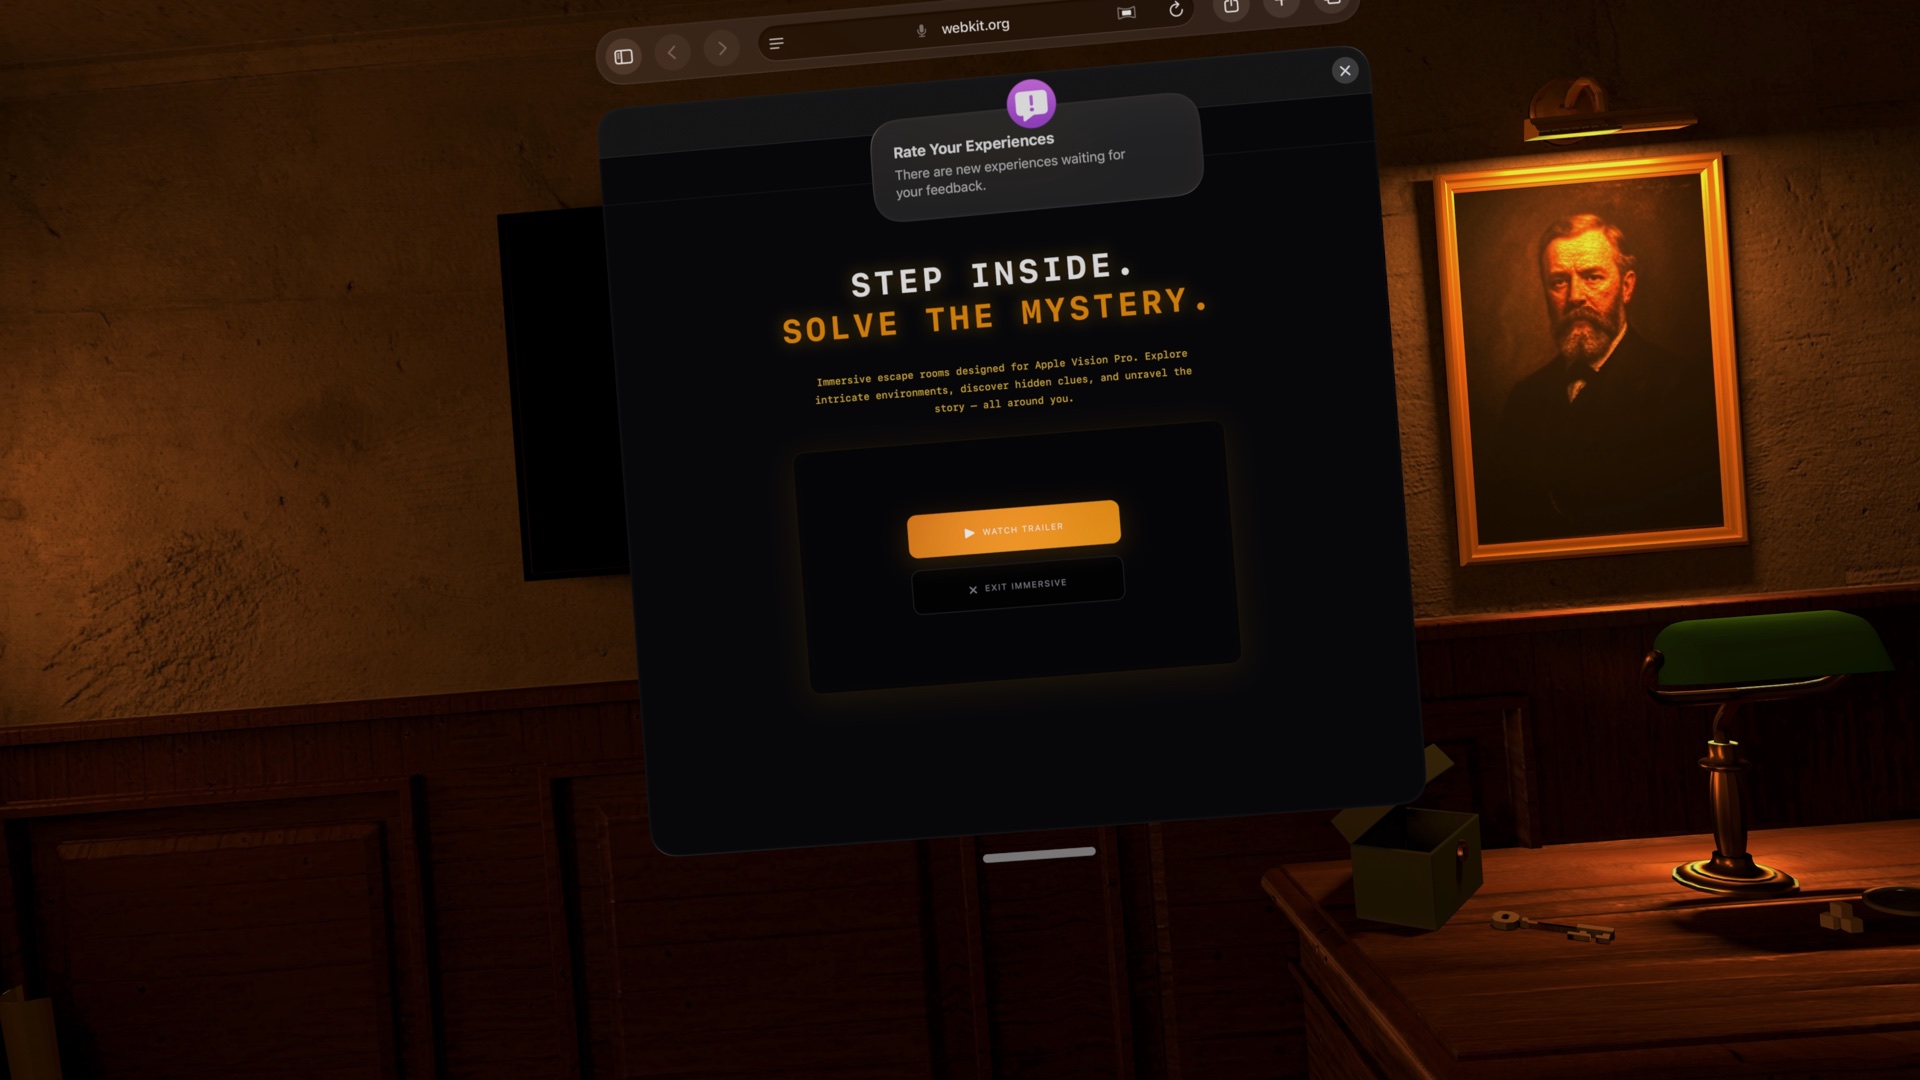
The Safari window does not go away when the room opens. It floats in front of the 3D scene. Plan a clear spot for that window, then place the main view a little to one side so the page does not block it.
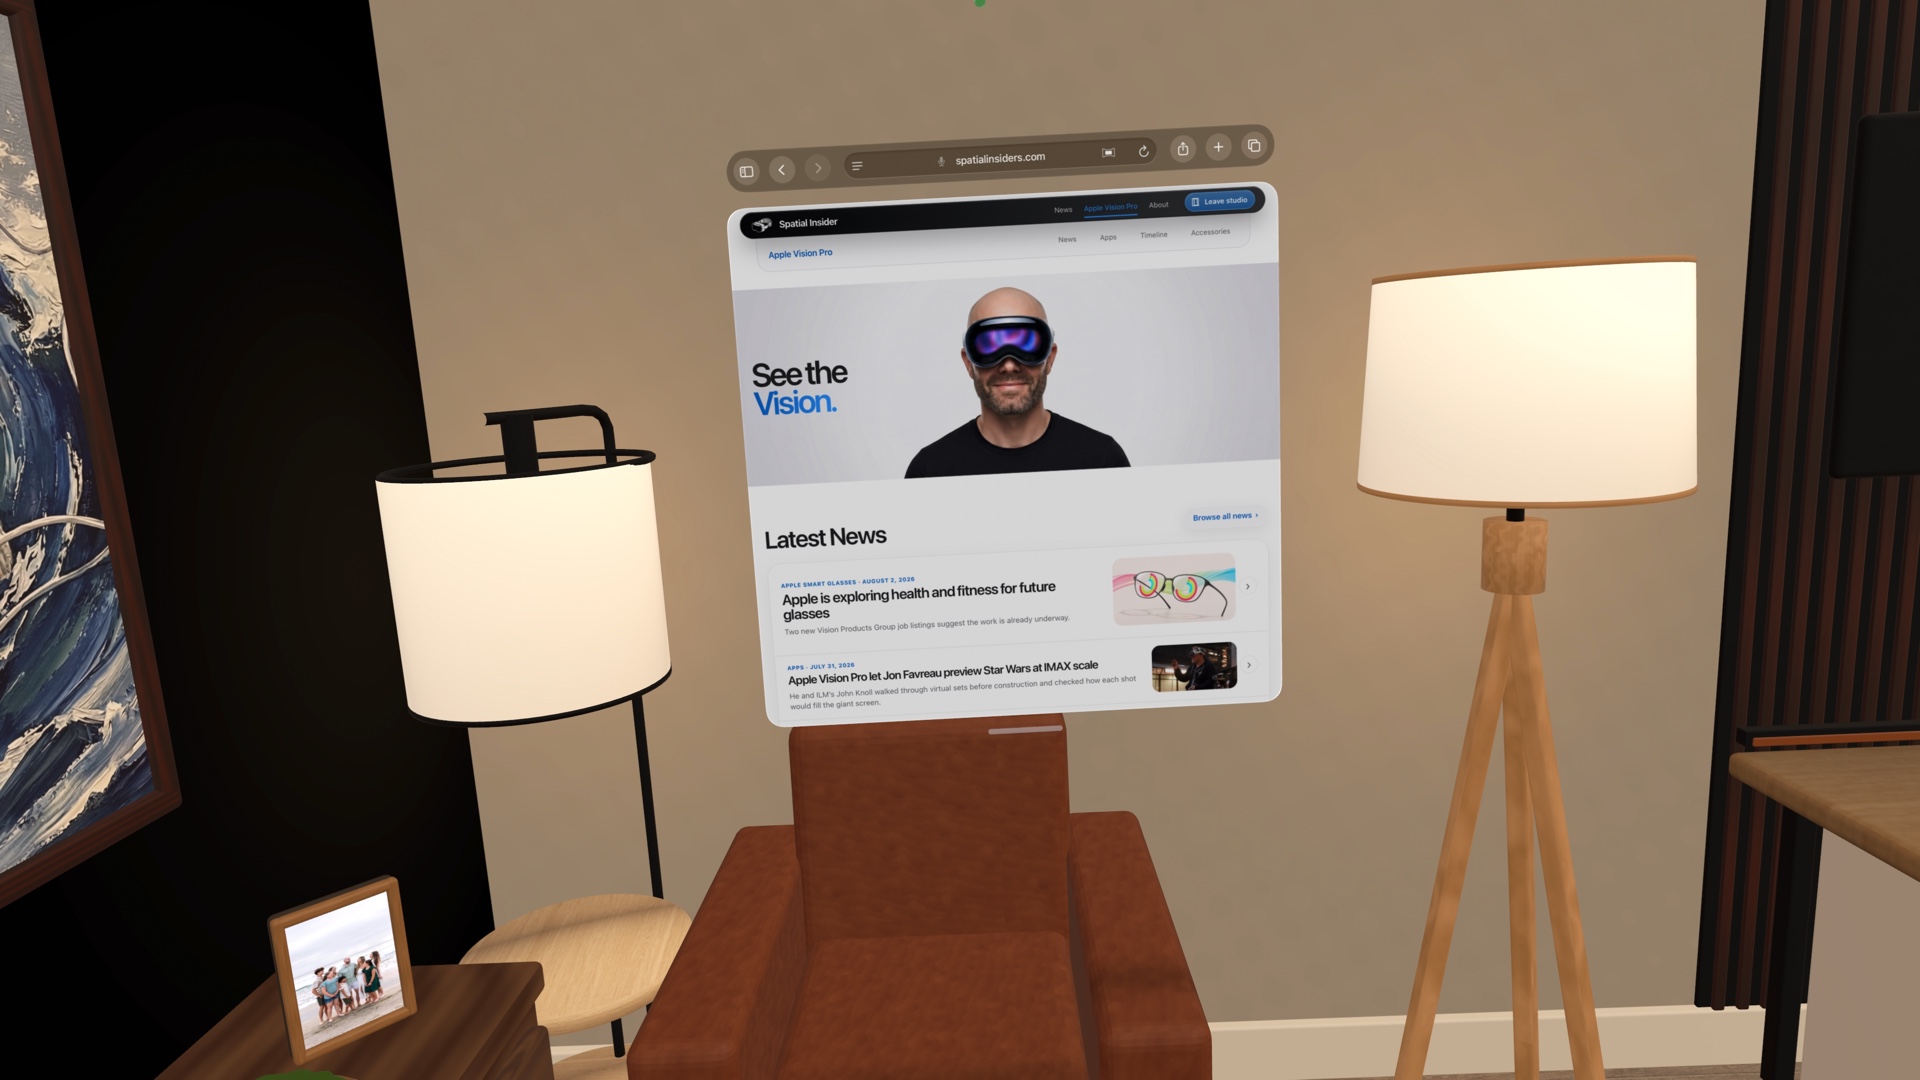
The visitor starts at the center of your 3D file. That point sits on the floor at their feet. One unit should equal one meter. Leave a few meters of open space around that point so the room feels safe and useful.
- Choose what the room helps the visitor do.
- Pick the first view they should see.
- Leave space for the Safari window.
- Check what they will see when they turn around.
- Keep the first version still and simple.
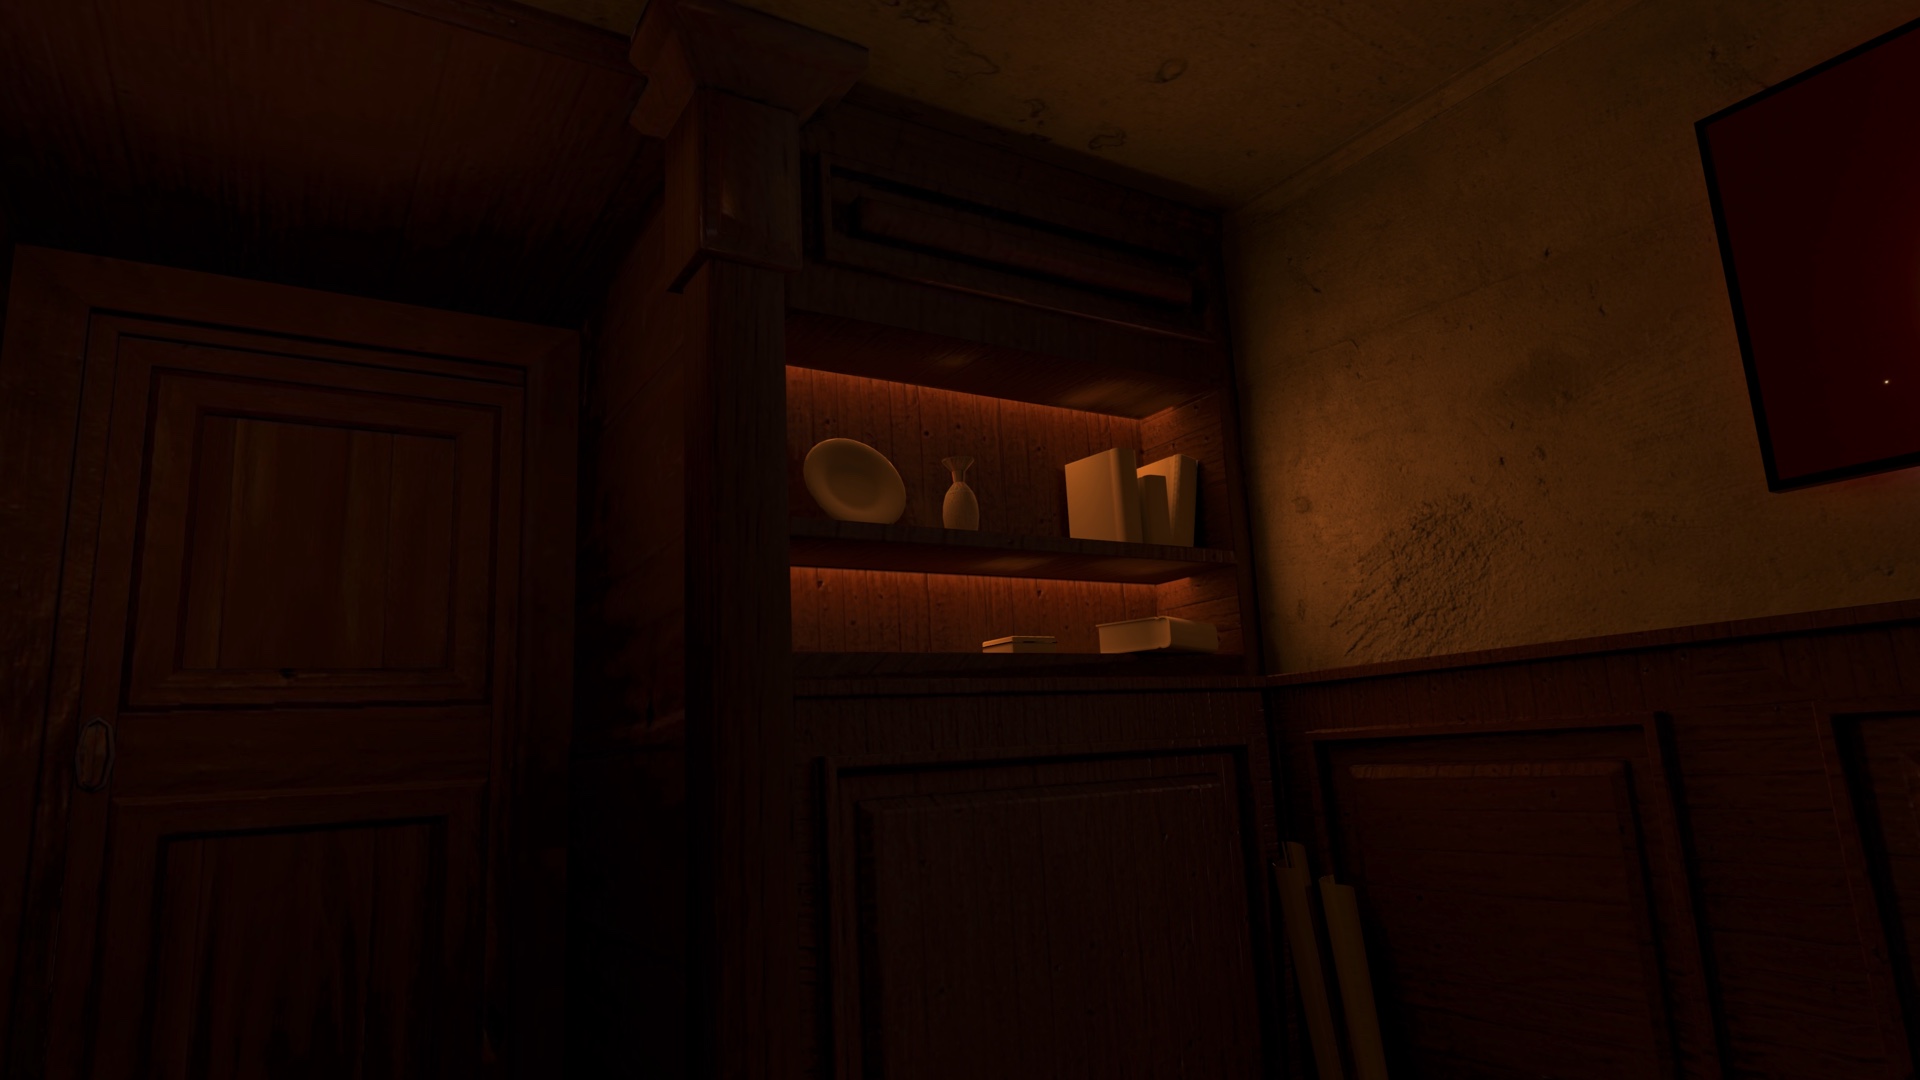
Gather the tools
You need an Apple Vision Pro running visionOS 27 for the final test. Web Environments are on by default in this version. You will also need a Mac, a website you can edit, and a tool that can export a USDZ file.
We used Blender. Apple offers a free Website Environment add-on for Blender (opens in a new tab). The current add-on needs Blender 4.2 or later and a Mac with Apple’s USD tools.
Some of the names can sound harder than the job they do. Here is what each one means.
- Blender is the free app where you build the 3D room.
- A USDZ is one package that holds the room, its objects, its surfaces, and any motion.
- A texture is a picture wrapped around a 3D object. It can make a flat shape look like wood, cloth, or stone.
- An HDR lighting map is a 360-degree picture of light. Safari uses it to add color, glow, and reflections to the room.
- EXR is the file type we use for that lighting map. It can save light that is much brighter than a normal photo.
- HTML puts the buttons and room link on the web page. JavaScript tells those buttons what to do.
Your first working version needs only two 3D files. One is the USDZ room. The other is the EXR lighting map.
The full path is simple. Build the room, export the USDZ, make the EXR map, add both files to your site, copy the starter code, and test the page in Vision Pro.
Build your first environment in Blender
Start with the floor at zero and put the visitor at the center. Build the room around that point at real size. A two-meter wall in Blender should feel like a two-meter wall in Vision Pro.
Do not fill the first build with tiny objects. Large shapes, clear materials, and good light matter more. Remove walls and objects that the visitor can never see. Join small objects when it makes sense. This lowers the work Vision Pro must do.
You can paint light and shadows into the room’s textures. This is called baked lighting. It often looks better and runs faster than asking the headset to make every light and shadow live.
When the room is ready, use Apple’s Blender add-on to export it as USDZ. The add-on can also mark a screen for video, mark simple surfaces that can catch Safari’s shadow, and bake the glow from a video onto nearby walls. Save those extras for a later pass.
Make the lighting map
The lighting map may look like a flat, stretched picture. Safari wraps it around the scene and uses its bright spots to light the room.
You can make the map in Blender or use a real HDR panorama. Match it to the room. A bright window in the model should also be bright in the map. A warm lamp should add warm light from the same direction.
Our first studio map looked fine on the Mac, but the room became black in Vision Pro. The USDZ passed Apple’s checks, and Apple’s Escape Room worked in the same Safari session. The problem was the way our EXR file was packed and sent by the server.
The studio began working after we changed the map to a 16-bit RGBA EXR with ZIP compression and served it as image/aces. This is a tested fix from our build, not a rule that Apple has published for every website. It is a useful safe starting point if your room opens but stays black.
Add the room to your page
The new visionOS 27 method starts with an HTML model element. An element is one part of a web page. This model element is the part that tells Safari where your room and lighting files live.
If you tried the older visionOS 26 preview, replace the old spatial backdrop link with this model and JavaScript flow.
Copy the next block into the body of your page. Keep the three id names as written because the JavaScript looks for them. Change only the two paths that start with /models so they point to your own files.
<button id="enter-room">Enter the room</button>
<button id="leave-room" hidden>Leave the room</button>
<p id="room-status" role="status"></p>

<model
  id="room"
  src="/models/my-room.usdz"
  environmentmap="/models/my-room-lighting.exr"
  hidden>
</model>
The first button opens the room. The second button is hidden until the room is open. The short status line can say that the room is loading or that something went wrong.
Inside the model element, src points to the USDZ room. The environmentmap line points to the EXR lighting map. The word hidden stops Safari from showing a small 3D preview inside the page. It can also keep Safari from downloading the large room until the visitor chooses to enter.
Now add the JavaScript. You can copy the whole block even if you do not know every command yet. It does four jobs.
- It finds the room, the two buttons, and the status line by their id names.
- It hides the Enter button on devices that cannot open the room.
- It asks Safari to open or close the room after a tap.
- It changes the buttons and message when the room opens, closes, or fails.
// Find the page parts by their id names.
const room = document.getElementById("room");
const enter = document.getElementById("enter-room");
const leave = document.getElementById("leave-room");
const status = document.getElementById("room-status");

// Hide the button when this device cannot open web environments.
if (!document.immersiveEnabled || !room.requestImmersive) {
  enter.hidden = true;
  status.textContent = "Try this on Apple Vision Pro with visionOS 27.";
}

// Open the room after the visitor taps Enter.
enter.addEventListener("click", async () => {
  status.textContent = "Opening the room…";

  try {
    await room.requestImmersive();
  } catch {
    status.textContent = "The room could not open. Please try again.";
  }
});

// Close the room after the visitor taps Leave.
leave.addEventListener("click", async () => {
  await document.exitImmersive();
});

// Update the buttons after the room opens or closes.
room.addEventListener("immersivechange", () => {
  const isOpen = document.immersiveElement === room;
  enter.hidden = isOpen;
  leave.hidden = !isOpen;
  status.textContent = isOpen ? "Room open" : "";
});

// Show a useful message if Safari stops the room.
room.addEventListener("immersiveerror", () => {
  status.textContent = "The room stopped. Please try again.";
});
The word const gives a short name to one page part. The addEventListener lines wait for something to happen, such as a tap or the room opening. The requestImmersive command asks Safari to enter the USDZ room. The exitImmersive command brings the visitor back out.
Two more words may look odd. Async means a job can take time. Await tells JavaScript to wait for Safari’s answer before it moves on. Leave both words in place.
Call requestImmersive right from the original tap. Do not wait for another task first. Safari needs that tap before it can open the room.
Apple’s inline model example can wait for model.ready because the model is already shown on the page. Our hidden model sometimes waited forever when we used the same gate. The button worked when we called requestImmersive at once and let Safari load the files while a spinner was on screen.
Send the files with the right type
Your web server must tell Safari what each file is. Think of this as a name tag attached to every file. The name tag is called a Content-Type.
Our USDZ is sent as model/vnd.usdz+zip. Our EXR lighting map is sent as image/aces. Apple’s own demo also sends its EXR as image/aces.
Use a new file name each time you change a model or map. Long browser caches are great for speed, but they can keep an old broken file around if you replace it at the same address.
You can check those name tags with the Terminal app on your Mac. Terminal is a text window for giving the computer a direct command. Paste one line at a time and replace example.com with your own website address.
curl -I https://example.com/models/my-room.usdz
curl -I https://example.com/models/my-room-lighting.exr
The curl command asks your live server for the file labels without downloading the full room. Check the Content-Type line in each reply. Also open both file links on a normal computer to make sure neither address returns an error page.
Make the room fast
A full room can be much larger than a normal web image. Every 3D shape is made from many small points joined into flat faces. More points give you more detail, but they also give Vision Pro more work.
Apple says to remove hidden shapes, lower the number of points, join objects, use simple materials, and bake light into textures.
You can also run usdcrush on the exported USDZ. This optional Apple tool works like a packing press for the pictures inside the room. It can make texture files much smaller without a clear drop in quality.
usdcrush my-room.usdz -o my-room-small.usdzRun that line in Terminal from the folder that holds your USDZ. The first file name is your large room. The -o means output. The last file name is the new smaller copy. Keep the original until the smaller room passes your headset test.
Apple’s Escape Room keeps its model hidden until the visitor taps. That saves data and memory for everyone who never enters. It also means entry can take a moment, so show a real loading message or spinner.
Add the magic later
Once the plain room works, Apple’s add-on can make it feel more alive.
- Video Docking puts a full-screen web video on a TV, wall, or movie screen inside the room.
- Light Spill lets that video add soft light to nearby surfaces.
- Scene Understanding lets the Safari window cast a shadow on simple tagged surfaces.
- Model animation can open a door or move another part of the room after a video ends.
- Spatial audio can help a visitor find water, wind, a screen, or another moving object.
Apple’s Escape Room uses all of these ideas. Its trailer moves from the web page onto a TV. Light from the TV reaches the walls and floor. When the clip ends, a door opens in the 3D room.
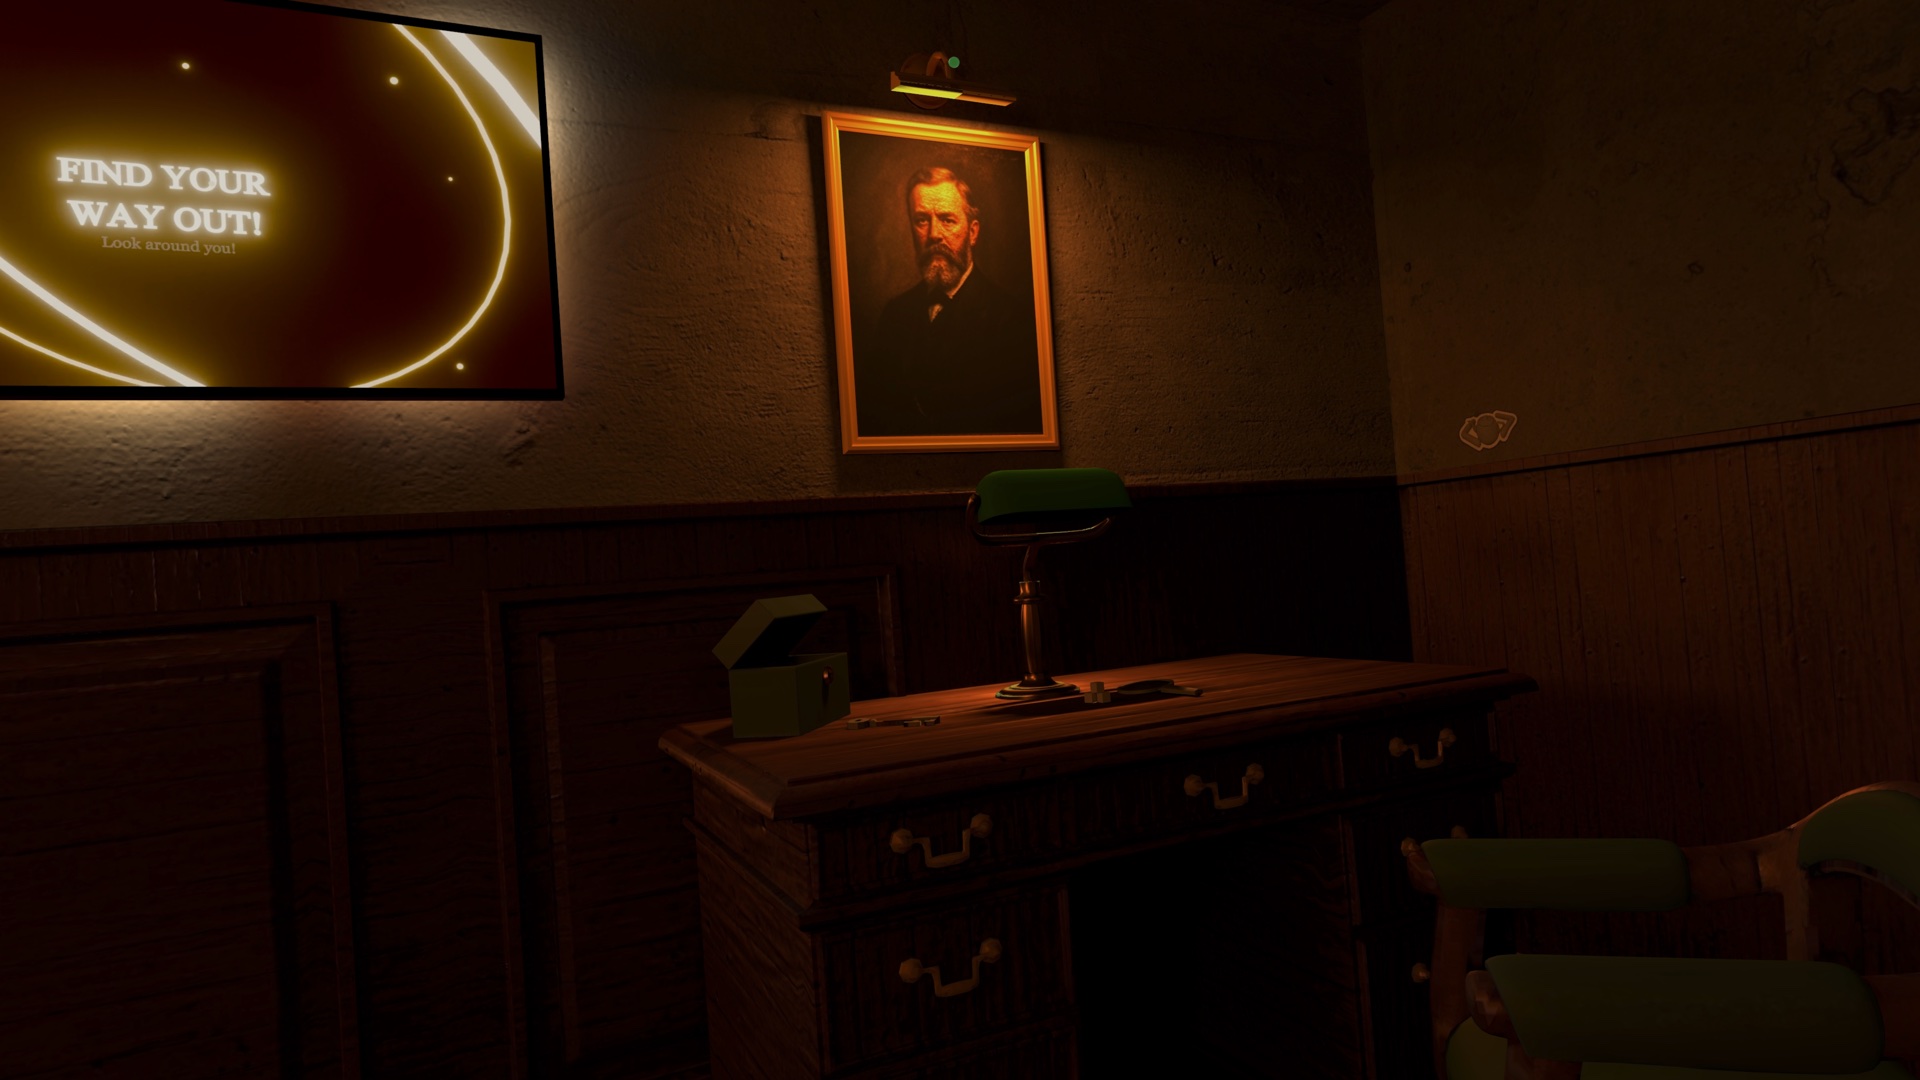
Treat these as a second step. Our own tests found that some materials looked right in Blender and passed USD checks, but became dark or pale in Vision Pro. The headset is the final judge.
What our hardest bugs taught us
A few simple checks can save hours when a new build goes wrong.
- The EXR lights the whole environment. It sets the main light direction, brightness, color, and reflections. The USDZ still needs baked lamp glow, contact shadows, and materials that react well to light. Making the EXR brighter will not make a blocked desk light reach through the desk.
- Entering the environment does not prove that it rendered. If the page changes to Leave but the view is black, Safari accepted the entry. Test a USDZ and EXR pair that already works before you rewrite the loader.
- Keep the last working USDZ and EXR. Change only the loader, the USDZ, or the EXR in each test. Give every new test file a new name so Safari cannot show you an old cached copy.
- Blender renders, usdchecker, and Quick Look can catch problems. They cannot approve the final light. Quick Look does not use the separate EXR from your website. The real HTTPS page in Safari on Vision Pro is the final test.
- If two surfaces flicker or look like their textures are fighting, two flat faces may be sitting in the same place. This is called z-fighting. Remove one face or move them apart. A new texture will not fix it.
- Mark simple desk, chest, or floor shapes as Scene Understanding shadow receivers when you want the movable Safari window to cast a shadow. This can ground the window without replacing the materials that already look right.
- Keep the USDZ below Safari’s current 30 MiB budget. That is 31,457,280 bytes. Check the exact byte count because Finder may show a rounded size.
Test it in the headset
A simulator and a Mac preview can catch basic errors. They cannot prove that the final light, materials, size, and load flow will work in Vision Pro.
- Open the page in a fresh Safari tab.
- Tap Enter and make sure a loading message appears.
- Check the full room, not only bright lamps or screens.
- Move the Safari window and check its place in the scene.
- Leave with your button and with the Digital Crown.
- Enter a second time.
- Try another page, then return and enter again.
- Test on a slower connection if the files are large.
- Make sure the normal page still works when the feature is not present.
Keep the room as a bonus, not the only way to use the site. A visitor may be on a phone, a Mac, an older system, or a browser that does not support the feature.
More from Apple Vision Pro.
Browse all stories
AirVis Spatial · 2 min read
AirVis Spatial Lets AI Understand and Navigate Your Gaussian Splats
Connect your Gaussian splat to Codex, and AI can look around with you, help you find things, and explain what it sees.

SketchUp · 2 min read
XGRIDS Gaussian Splats Now Work With SketchUp’s Splat Extension
The Gaussian Splats extension brings captured spaces into the modeling window, where designers can snap new geometry to the scan and compare it with their plans.
Flow Chaser · 2 min read
New Vision Pro Game Turns Your Music Into Playable Levels
Flow Chaser builds rhythm challenges from imported songs, letting you hit orbs with your hands or slice cubes in environments that react to the music.